My bedroom furniture was going through a mid-life crisis, so I decided to help a dressa’ out and give it a facelift. T’s parents were kind enough to give us a few pieces of furniture to get us started on our apartment, including our wooden dresser. I love the thing, with it’s antique key holes and brass handles, but brown wasn’t doing it for me, or our bedroom.
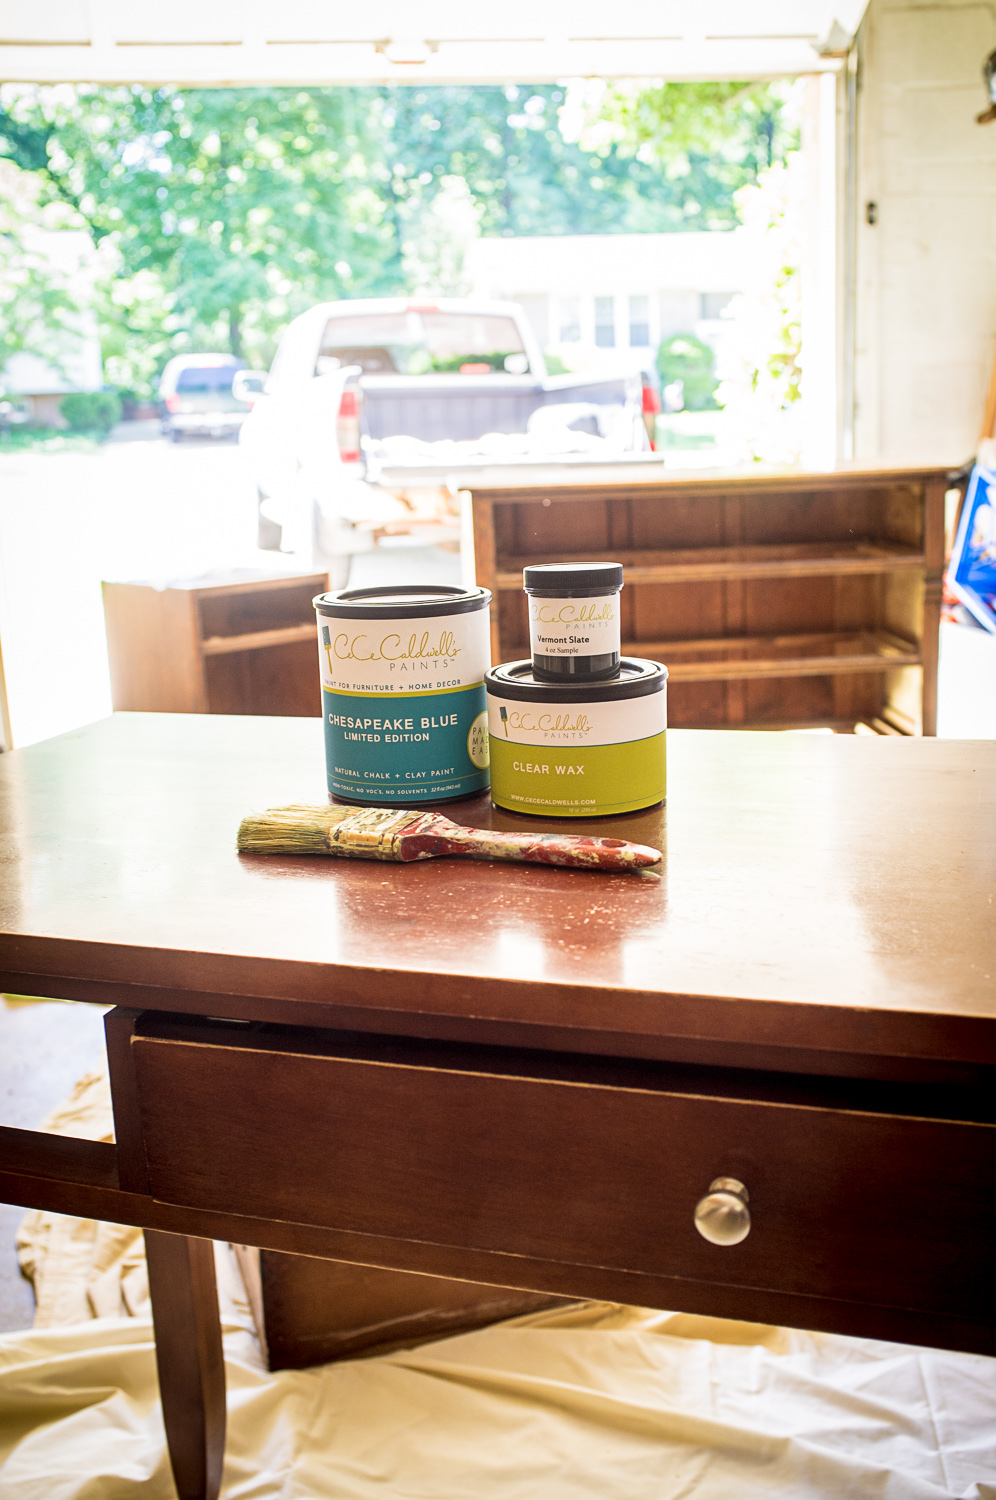
I’ve been gravitating toward greys and purples lately, so I thought a nice grey-blue color would do the trick with a darker slate color on the very top. On a random note, I have also been drawn to bright pink palettes lately. Not so much in the clothes that I wear, but flowers, shoes, prints, etc. I never used to be a “pink person,” but now it makes me so happy when I look at it! Anyway, back to the facelift… My mom suggested using a “less toxic” version of Annie Sloan Chalk Paint, so we went with the CeCe Caldwell’s version of chalk paint and clear wax. The great thing about this paint is that you don’t need to sand or prime your furniture before you paint [gasp!]. All you need to do is follow these easy steps and voila, a practically new addition to your favorite room or space!


Step 1: Remove all hardware then wipe down with a damp cloth to get all the dust off.
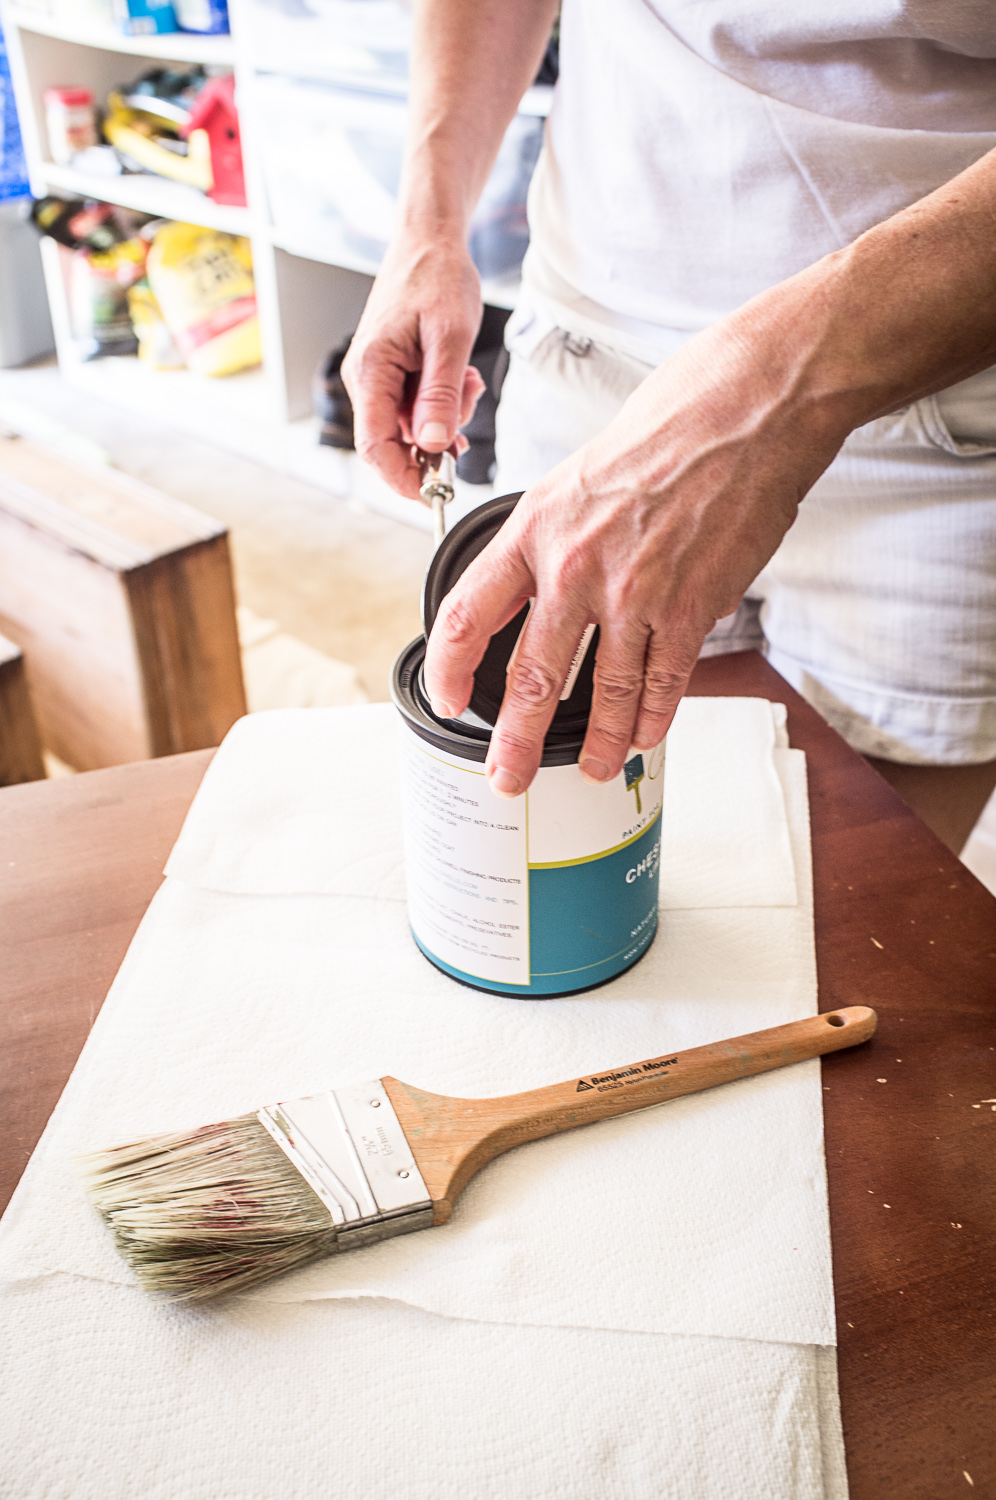
Step 2: Paint. You may need to do 2 or 3 coats to prevent visible brush strokes on the furniture.
Step 4: Seal it. After the paint has dried for a couple hours, you can seal it with wax. Less is more when it comes to waxing the top of your dresser, so with a dry cloth take some wax and lightly apply in small sections. The wax can take up to 24 hours to dry, and even after that I recommend being delicate when putting decor back on top of your furniture.
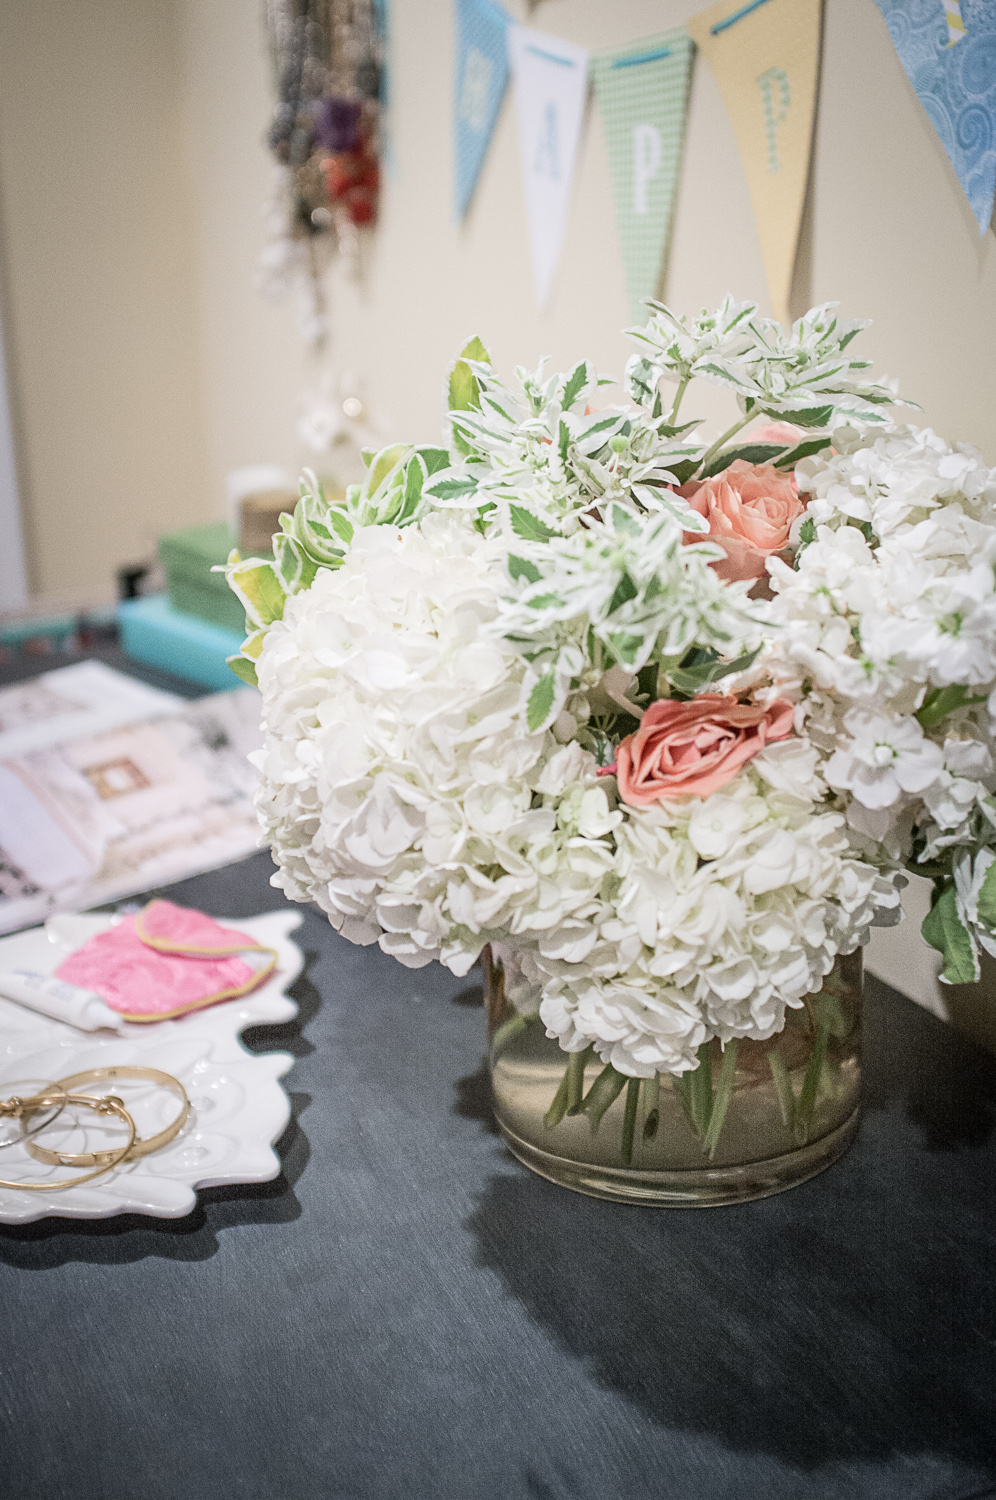


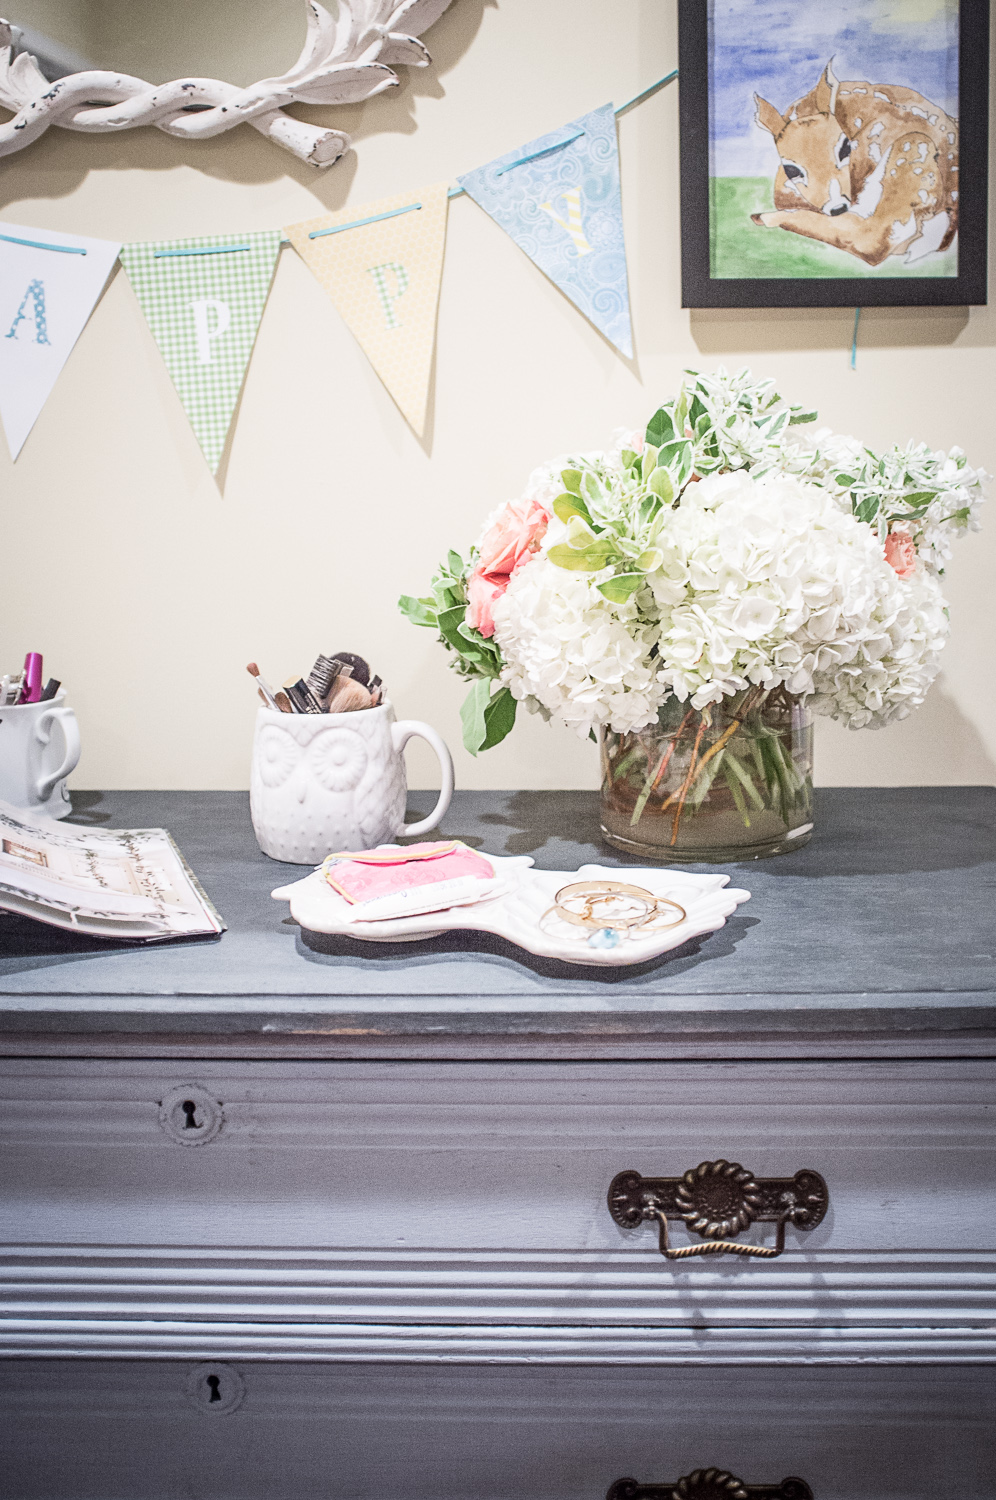
I’m so happy with how my dresser turned out! One step closer to my dream bedroom…
Jackietara
