DIY

DIY Hangover Boxes

Bachelorette DIY-2 Bachelorette DIY-1
Bachelorette DIY-3 Bachelorette DIY-4
Bachelorette DIY-9 Bachelorette DIY-10
Bachelorette DIY-16
Bachelorette DIY-11Bachelorette DIY-12
Bachelorette DIY-15
Chelsea's Bachelorette-6
Chelsea's Bachelorette-19Chelsea's Bachelorette-14Chelsea's Bachelorette-21

I discovered last week that it is incredibly easy and fun to create the sweetest little bachelorette party hangover boxes. Marci, the MOH for Chelsea’s September wedding, and I wanted to collaborate on decorating and filling simple white take-away boxes for each bachelorette party attendee to have during our weekend in Charleston, SC. I am not a professional calligrapher by any means, but I am pretty darn good at replicating, it seems.

After studying the work of a few pro’s, I mustered enough courage to put my pretty gold pen to paper. I wrote everyone’s name in my “faux calligraphy” and then jazzed up the boxes a little bit more with some delicate pink and purple watercolor flowers. Marci took care of the excellent – and much needed – fillings with mini Advil packs, mints, granola, and snacks to help revive us the morning after a lively night out. It was the perfect combination of cures to have on-hand!

A couple of my current calligraphy crushes:
Host and Toast: custom signs
Splotch and Line: lettering and art
Flora Waycott: illustrations and designs
Poppy and Scooter: calligraphy and stationery

Xo,
Jackietara

Furniture Facelift: Chalk Paint

Furniture Facelift: Chalk Paint - Jackietara blog

My bedroom furniture was going through a mid-life crisis, so I decided to help a dressa’ out and give it a facelift.  T’s parents were kind enough to give us a few pieces of furniture to get us started on our apartment, including our wooden dresser.  I love the thing, with it’s antique key holes and brass handles, but brown wasn’t doing it for me, or our bedroom.

I’ve been gravitating toward greys and purples lately, so I thought a nice grey-blue color would do the trick with a darker slate color on the very top.  On a random note, I have also been drawn to bright pink palettes lately.  Not so much in the clothes that I wear, but flowers, shoes, prints, etc.  I never used to be a “pink person,” but now it makes me so happy when I look at it!  Anyway, back to the facelift… My mom suggested using a “less toxic” version of Annie Sloan Chalk Paint, so we went with the CeCe Caldwell’s version of chalk paint and clear wax.  The great thing about this paint is that you don’t need to sand or prime your furniture before you paint [gasp!].  All you need to do is follow these easy steps and voila, a practically new addition to your favorite room or space!

Furniture Facelift: Chalk Paint - Jackietara blogFurniture Facelift: Chalk Paint - Jackietara blogFurniture Facelift: Chalk Paint - Jackietara blogFurniture Facelift: Chalk Paint - Jackietara blogFurniture Facelift: Chalk Paint - Jackietara blogFurniture Facelift: Chalk Paint - Jackietara blog

Step 1: Remove all hardware then wipe down with a damp cloth to get all the dust off.
Step 2: Paint. You may need to do 2 or 3 coats to prevent visible brush strokes on the furniture.
Step 4: Seal it. After the paint has dried for a couple hours, you can seal it with wax.  Less is more when it comes to waxing the top of your dresser, so with a dry cloth take some wax and lightly apply in small sections.  The wax can take up to 24 hours to dry, and even after that I recommend being delicate when putting decor back on top of your furniture.

Furniture Facelift: Chalk Paint - Jackietara blogFurniture Facelift: Chalk Paint - Jackietara blogFurniture Facelift: Chalk Paint - Jackietara blogFurniture Facelift: Chalk Paint - Jackietara blogFurniture Facelift: Chalk Paint - Jackietara blogFurniture Facelift: Chalk Paint - Jackietara blogFurniture Facelift: Chalk Paint - Jackietara blogFurniture Facelift: Chalk Paint - Jackietara blog

I’m so happy with how my dresser turned out!  One step closer to my dream bedroom…

Jackietara

DIY Berry Basket

DIY Berry Basket - Jackietara blog

Hi there and happy Friday!  It’s been a roller coaster of a week, so I’m glad the weekend is finally here.  Spring always takes forever to get here, but when it does finally arrive, it ignites with a fury and steamrolls into summer.  There is always so much to do and so much I WANT to do, and at the end of every day I end up saying “there just isn’t enough time.”  I have to say though, even after long days at the office I’ve been managing to stick to a basic workout routine during the week [big win for me!].  Working out even when I’m tired has dramatically increased my energy level [weird, I know] and has given me a much needed confidence boost.  And I need both energy and confidence in huge doses right now with the amount I need/want to accomplish!

By basic I mean I am still no fitness pro [or even close], but I’ve gotten to a point where I exercise at least 3 days a week.  On Tuesdays I join a small group that does Zumba together at work, after work, and interchange that with the Shirlington running club, also on Tuesdays, that I joined last fall.  I have also picked up barre classes with a friend who is training to become an instructor, and the classes are free which helps my bottom line [literally].  And then there’s my at-least-once-a-week visits to the industrial building in Springfield that hosts the largest dance party workout class I have ever experienced: Kazaxe.  Kazaxe has become my favorite part of my routine because it’s not only a great cardio workout [trust me, you sweat constantly] and endorphin booster, but it’s become a social gathering with some of my closest gal pals.  And what could better than getting your twerk on with your closest friends?!  One of those friends has recently started a fitness blog, which is amazing and you should follow along!

With all of this extra energy I have been pushing myself to keep my crafting going.  Something I had been really wanting to do is to create a berry basket from clay.  I already had extra Sculpey from my clay planter project, so I dedicated an afternoon a couple weeks ago to making one for my newly redecorated bathroom.  I followed the basic steps from the post from A Beautiful Mess, tweaked it a bit, and voila!  My very own berry basket.  It took me a bit longer than I expected (about 2 hours), so I ended up only making one.  I painted it black to match my sea glass and black decor in the bathroom and I think it feels right at home on the shelf.  They are perfect for any nick nacks or do dads you have lying around… I started with q-tips and it’s now it’s holding three nail clipper kits, previously without a home [don’t ask me why I have three].  I’d love to make another to have on my bedroom dresser, leave the white clay color, and then paint the bottom gold!

DIY Berry Basket - Jackietara blog DIY Berry Basket - Jackietara blog DIY Berry Basket - Jackietara blogDIY Berry Basket - Jackietara blogDIY Berry Basket - Jackietara blogDIY Berry Basket - Jackietara blog

Jackietara

Love Notes

Love Notes - Jackietara blog

I hope everyone had a marvelous Valentine’s Day, whether you celebrated with your beloved, best friends, or by your lonesome [with a great bottle of wine and chocolates I hope]!  February has turned into a crazy month, with Valentine’s weekend as the mid-point of craziness, so T and I decided to have a cozy night in.  We picked out a couple of lobsters [whom I naturally named Larry and Beatrice] from the Maine Avenue Fish Market, a.k.a “The Wharf”, in Southwest DC and tried our hand at preparing them ourselves at home.  It was quite an experience cooking a meal of two 3-pound lobsters, complete with an escargot appetizer, a bottle of bubbly [followed by a bottle of our favorite red wine], and a homemade bread pudding.  It was definitely a decadent night, but if you can’t indulge on Valentine’s Day, when can you?!

To share my love with family and friends this year I wanted to make my own cards.  In the past I have mailed cards with my own drawings, collages, and paintings, but life has gotten in the way of me hand-making cards in the last couple years.  But not this year!  All of my spare time the week leading up to the big day was dedicated to creating little love notes and I was quite pleased with the turnout.  The only supplies I needed to buy for this project were the paper cards and a cute “handmade by” stamp from Michael’s that I fell in love with [how appropriate].  I had the watercolors, pencils, and pens already at home!

Love Notes - Jackietara blogLove Notes - Jackietara blogLove Notes - Jackietara blogLove Notes - Jackietara blogLove Notes - Jackietara blog Love Notes - Jackietara blogLove Notes - Jackietara blogLove Notes - Jackietara blog Love Notes - Jackietara blog

Photography by Teddy Wolff

If you already craft at home, making cards can be easy for you too!  Even if you don’t consider yourself an artist, there are plenty of alternatives to drawing: like making a collage from magazine photos; using stamps and/or making your own [check out Poppytalk’s DIY Buffalo Print]; or a mix of mediums [check out A Pair & A Spare’s DIY Watercolour Valentine’s]!  Did you craft anything for Valentine’s Day this year?  How did it turn out?

Xoxo,
Jackietara

DIY Gold Dipped Pine Cones

DIY Gold Dipped Pine Cones - Jackietara blog

Our last craft night before the holidays featured “gold dipped” pine cones.  I thought they would be an easy and festive decoration for friends to have on display in their homes, or to give as gifts!  I found a couple of different ways to make DIY gold pine cones, but settled on the painting option [like this example from A Pear of Pears].  Michael’s has several types of metallic paint and inexpensive sets of paint brushes.  Thankfully the paint eventually washes out but it took a little bit of scrubbing, so I wouldn’t suggest using your best brushes on this project!

Supplies:
Gold, silver, or copper liquid gilding paint
Fine tipped paint brushes
Pine cones [store bought or found outside]

Directions:
Cover your workspace with newspaper or wax paper to make sure you don’t spill any paint on your furniture!  You can paint only the tips of your pine cones, or paint them a solid metallic color.  I did a mix of silver and gold and went for the store bought scented ones from Michael’s.  Let dry for at least an hour.  Put them in a bowl or vase and enjoy!

DIY Gold Dipped Pine Cones - Jackietara blog
Lettering by Dan Rader

DIY Gold Dipped Pine Cones - Jackietara blog
DIY Gold Dipped Pine Cones - Jackietara blog DIY Gold Dipped Pine Cones - Jackietara blog

Jackietara

DIY Clay Planters

It’s been a while since we made these, but I promised I would post photos and a “how-to” for these cute DIY clay planters.  I’ve recently started hosting a monthly “Crafty Night” at my apartment, which has been a success so far!  Our first crafty theme was miniature clay planters, a project I originally saw on the A Beautiful Mess blog.  They are perfect small embellishments for a hallway table or window ledge, and you can hang them too!

Here’s what you need:
Rolling pin
Wax paper
Sculpey clay (or another oven-baking clay)
Sculpting tools
Acrylic paint
Paint brushes

DIY Clay Planters - Jackietara blog
DIY Clay Potter - Jackietara blog

Directions:
1. Roll your clay out about ¼ of an inch thick and cut a long rectangle that is 10 inches long and 2 ½ inches tall. Cut out a circle for the bottom of the planter that is 3 ½ inches wide.

2. Place your long rectangle piece on top of your circle to create your sides. Roll thin tubes of clay to put on the inside bottom of the planter (where the walls meet the planter bottom), then use the clay knives (or your fingers) to smooth out the clay tube between the crack to create a water-tight seal.

4. Roll out more clay and cut out the design that will go on the sides of your planter.

5. Use a wooden skewer to poke 4 evenly spaced holes near the top of your planter. Bake your clay according to the package directions and let the planter cool.

6. Paint freely!

DIY Clay Planters - Jackietara blog DIY Clay Planters - Jackietara blog DIY Clay Potter - Jackietara blog DIY Clay Potter - Jackietara blog DIY Clay Potter - Jackietara blog

Christmas is around the corner, and a mini clay planter would make a great gift!

Jackietara

Halloween Costumes on a Budget

Halloween-2Rogue
Halloween-3
It’s that time of year again: pumpkins wait eagerly on doorsteps, grocery stores fill their shelves to the brim with bags of candy and treats, and I raid my closet to put together a “homemade” costume.  I’ve never been one to spend a large amount of money on a pre-made store bought costume and tend to opt for a DIY option.  It’s less expensive and more fun to see what you can pull out of the arsenal and pair together to complete a themed look!

This year, Teddy and I decided to give X-Men’s Wolverine and Rogue a try.  T has been genetically blessed with plentiful facial hair, which we knew would be a slam-dunk for Wolverine’s distinctive beard, and we owned mostly every other piece needed for both costumes.  If you are struggling to come up with a look this year, this is what you’ll need for Rogue and Wolverine:

Rogue:
Black leggings or pants (leather is a plus!)
Black top
Black knee-high boots
Leather jacket
Grey or silver hair spray

Out of all of these supplies, the only item I bought was a $5.00 can of silver hair spray from the Halloween section of CVS.  I luckily own a lot of black and even had a hand-me-down one piece black cotton/spandex suit.  If you don’t own a leather jacket, you can always borrow one from a friend!

Wolverine:
Trimmed facial hair
White or black tank (white preferred)
Jeans with a thick brown belt
Dog tags (a chain necklace does the trick!)
Boots
Leather jacket

Halloween-4 Halloween-5 Halloween-7

Photography also by Teddy Wolff

Happy Halloween!

Jackietara

Fall To-Do List Update

I have had the craziest last couple of weeks.  Between work, friends, projects, quartet rehearsals, and family obligations, it’s hard to find a moment to slow down and reflect.  Saturday was the first day in a while that I was able to sit down and think about how I have been coming along on my fall to-do list, so cheers to the weekend!

Even though I have been incredibly busy, I have been happy.  I am the sort that gets a huge amount of gratification from accomplishing things, and that’s what fall has done for me.  Here’s what I have been up to lately:

1. Keeping up with appearances.  I am now into my second month of Birchbox, and loving it!  Since I’m not adventurous enough to buy a full-sized bottle of product to try, it’s nice to get a few samples to see what works.  I’m currently loving the Dr. Jart+ tinted moisturizer from the September box and still getting a feel for a few items in the October box.

birchbox2

2. Exercising.  I joined a running club in Shirlington and it has done wonders for my energy level.  It’s also a great way to release stress after a long day at work, and to socialize!  It’s hard for me to motivate myself to work out, but so much easier with a great group of friends.  My goal is to be able to run the entire 5K loop without stopping to walk, but I must say I am quite proud that I have even completed between 3.1 – 3.7 miles AND I am no longer a running hater!

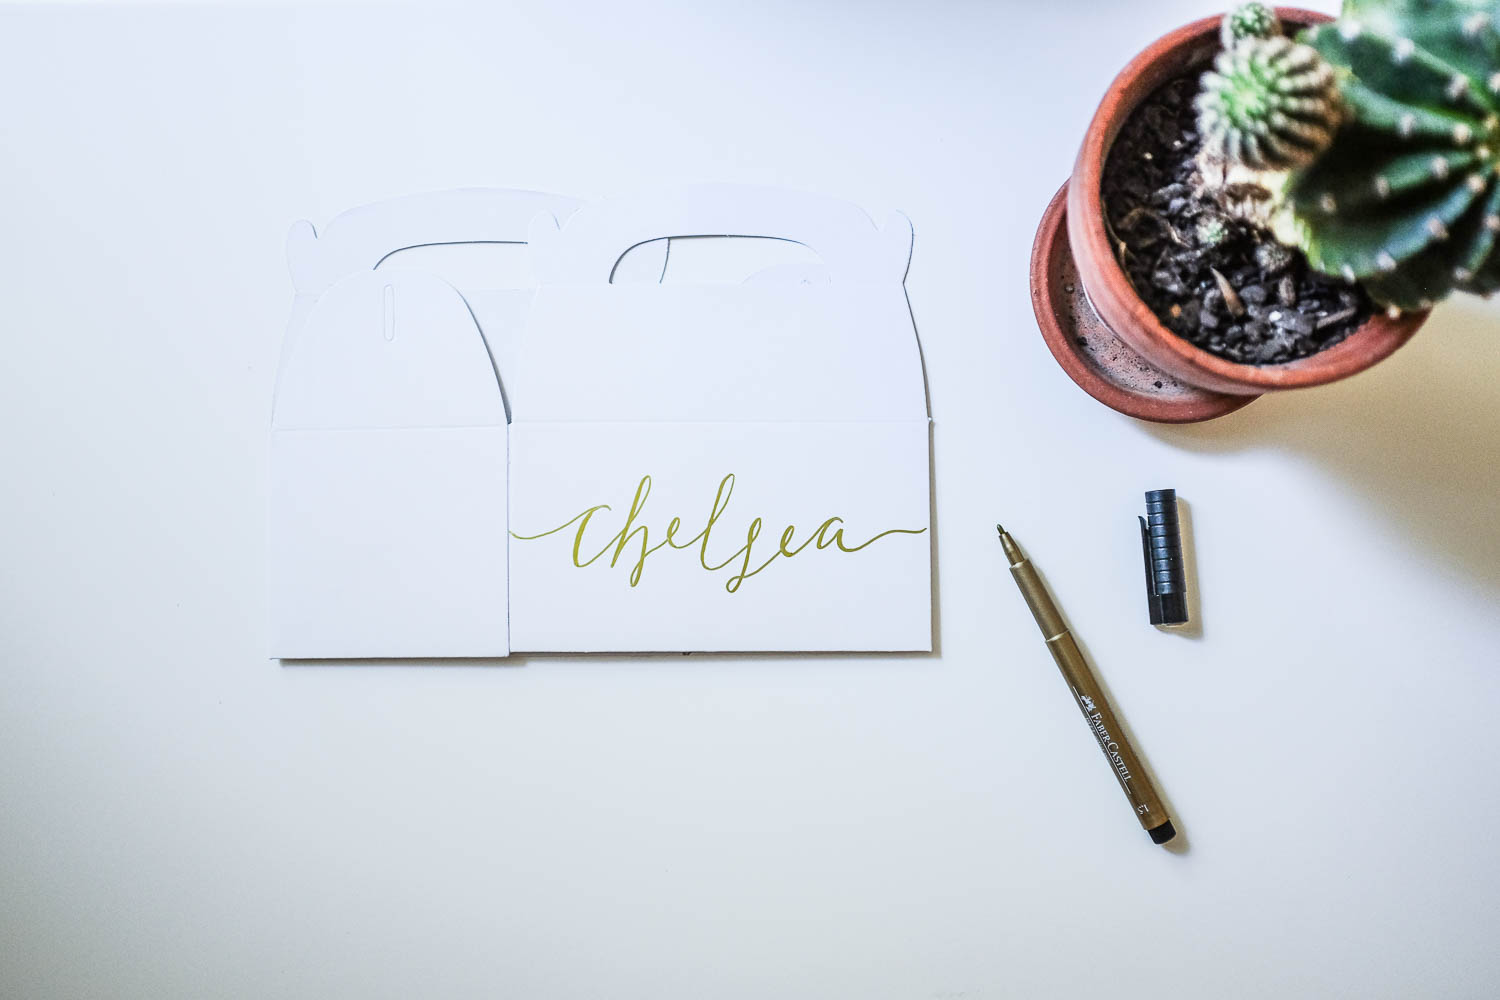
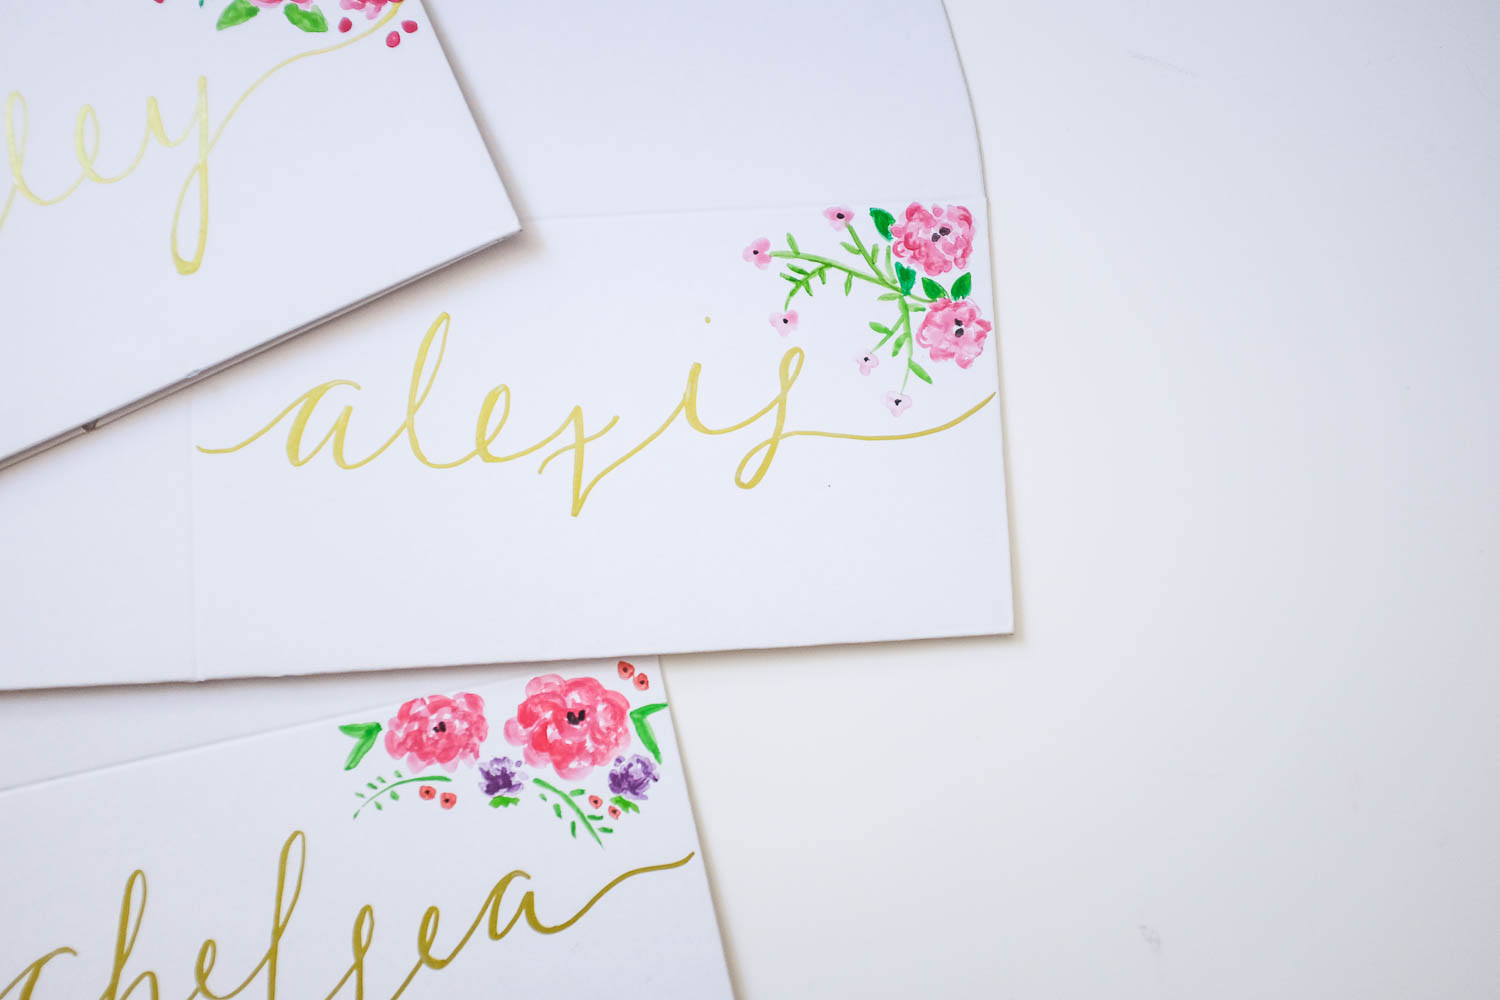
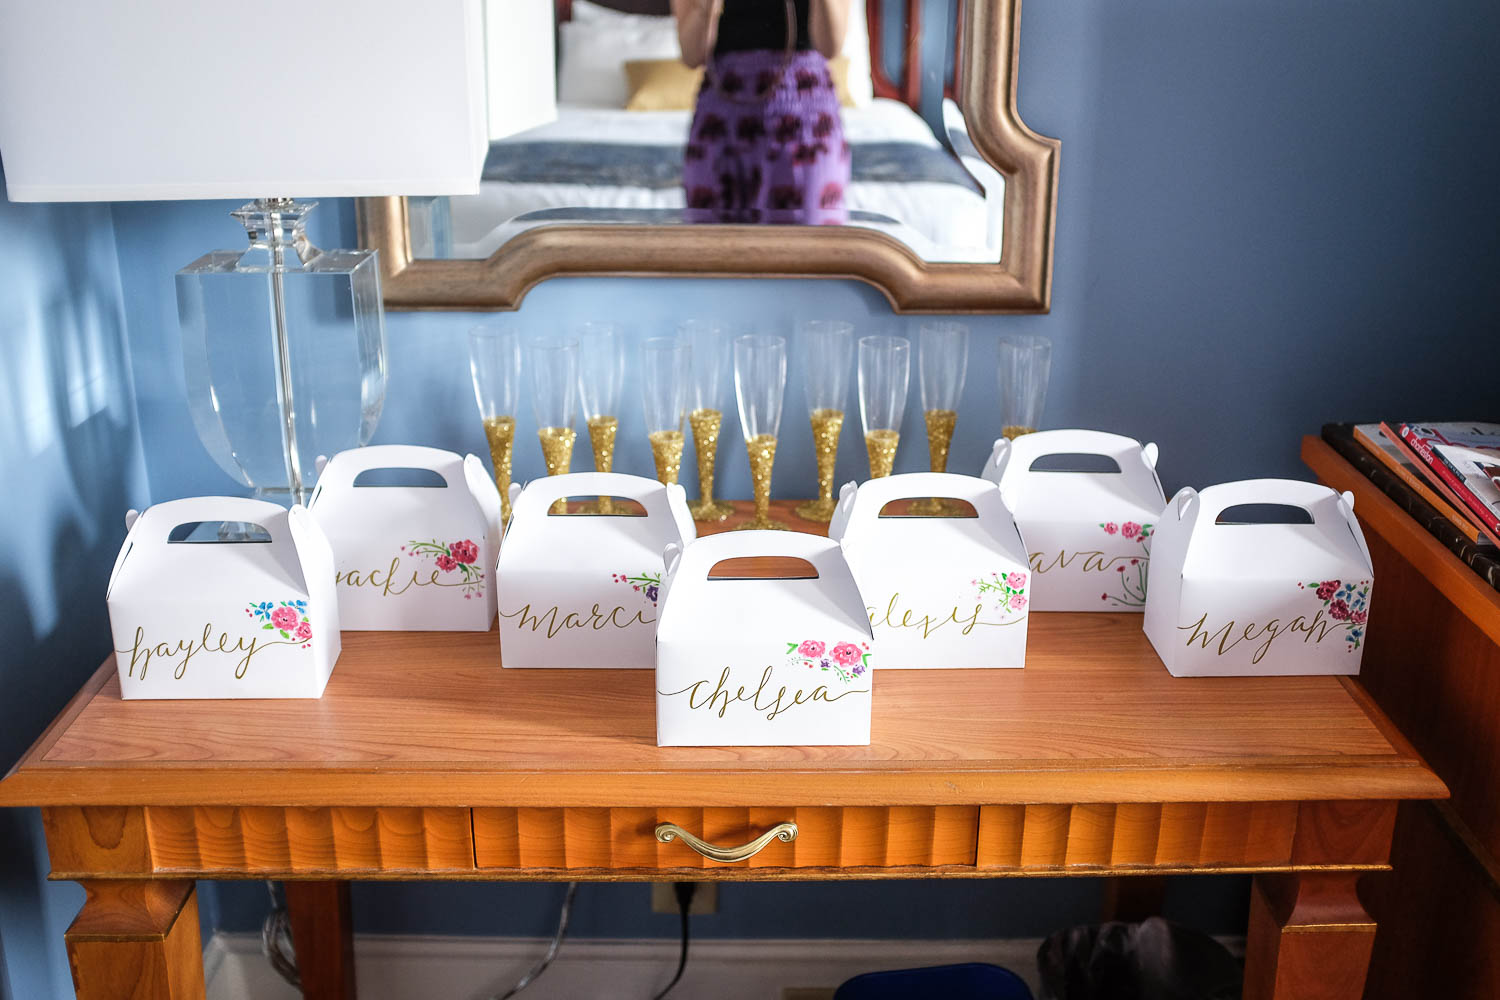
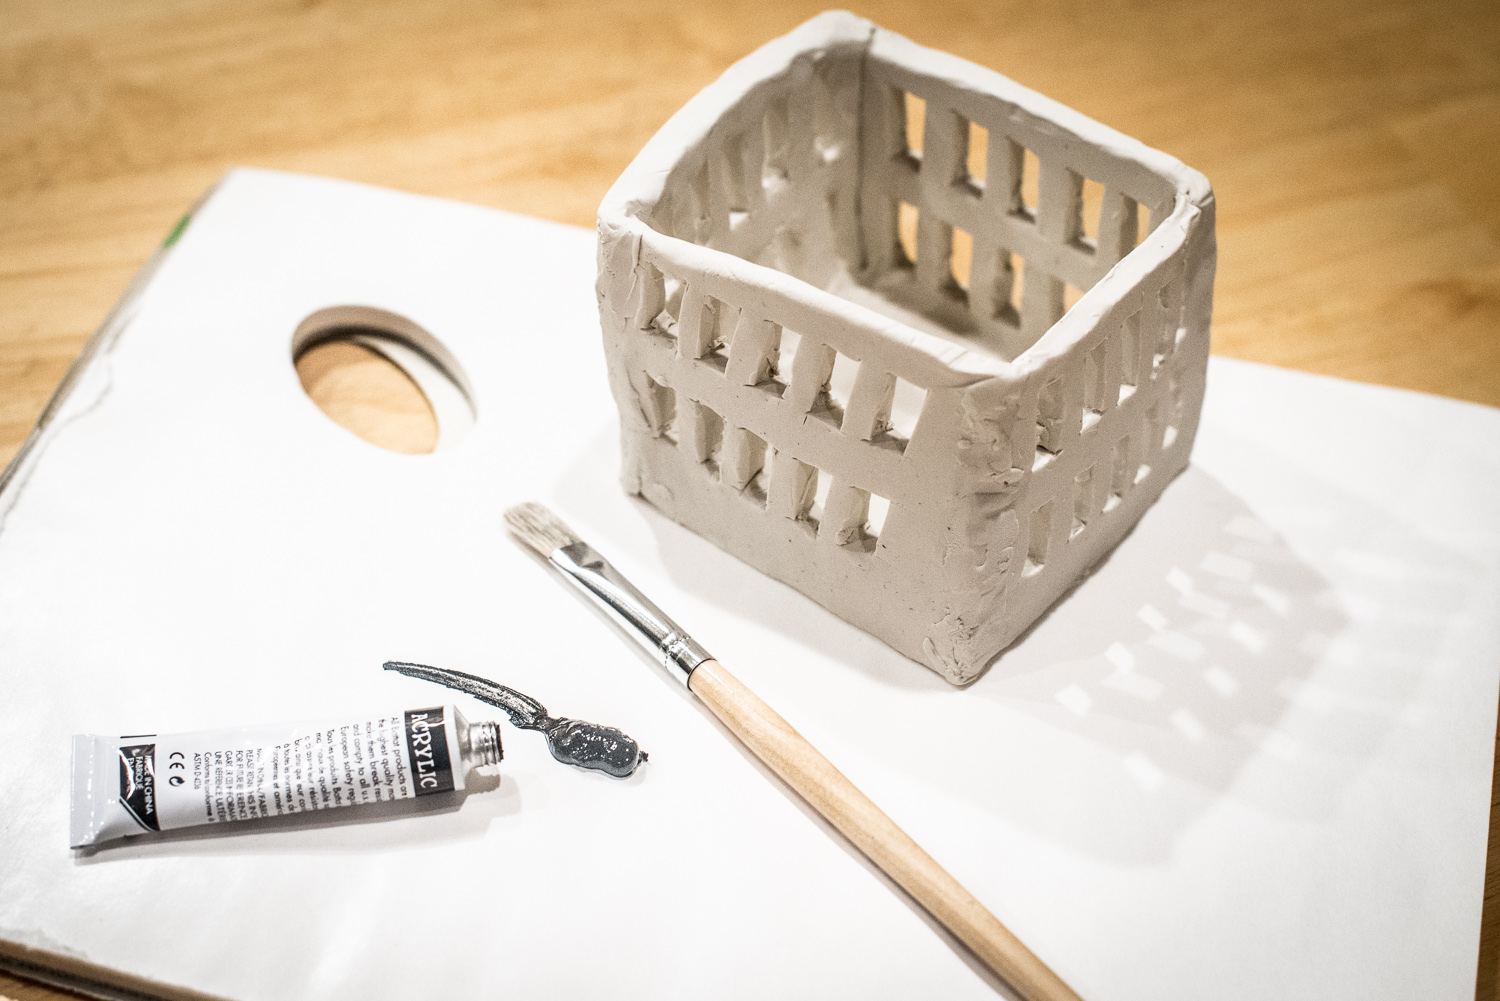
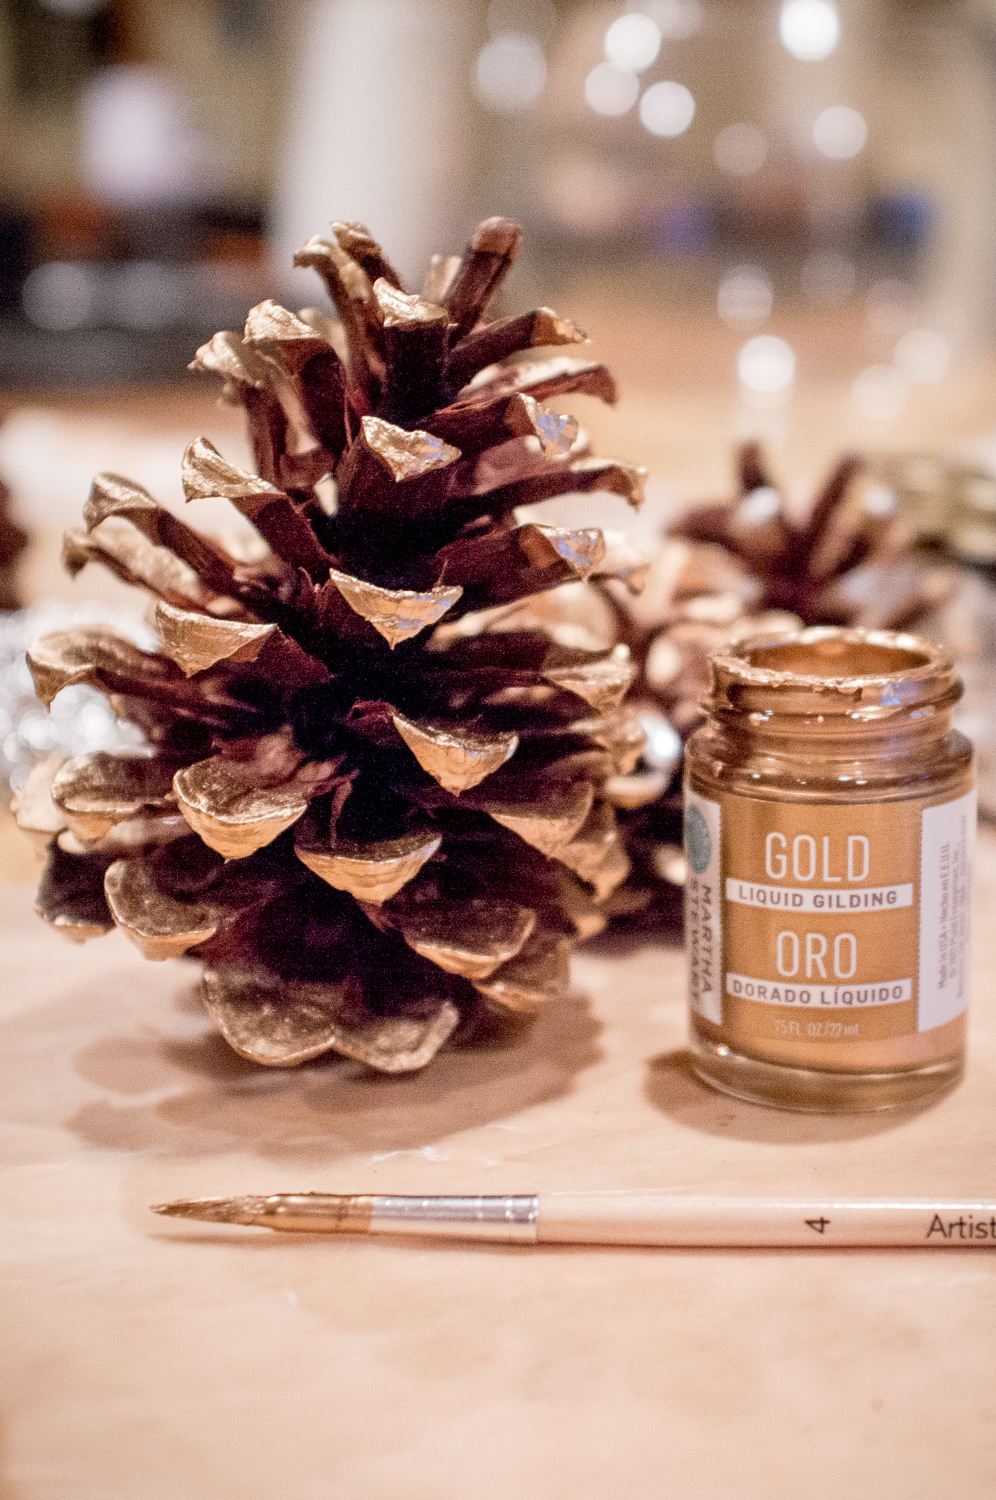
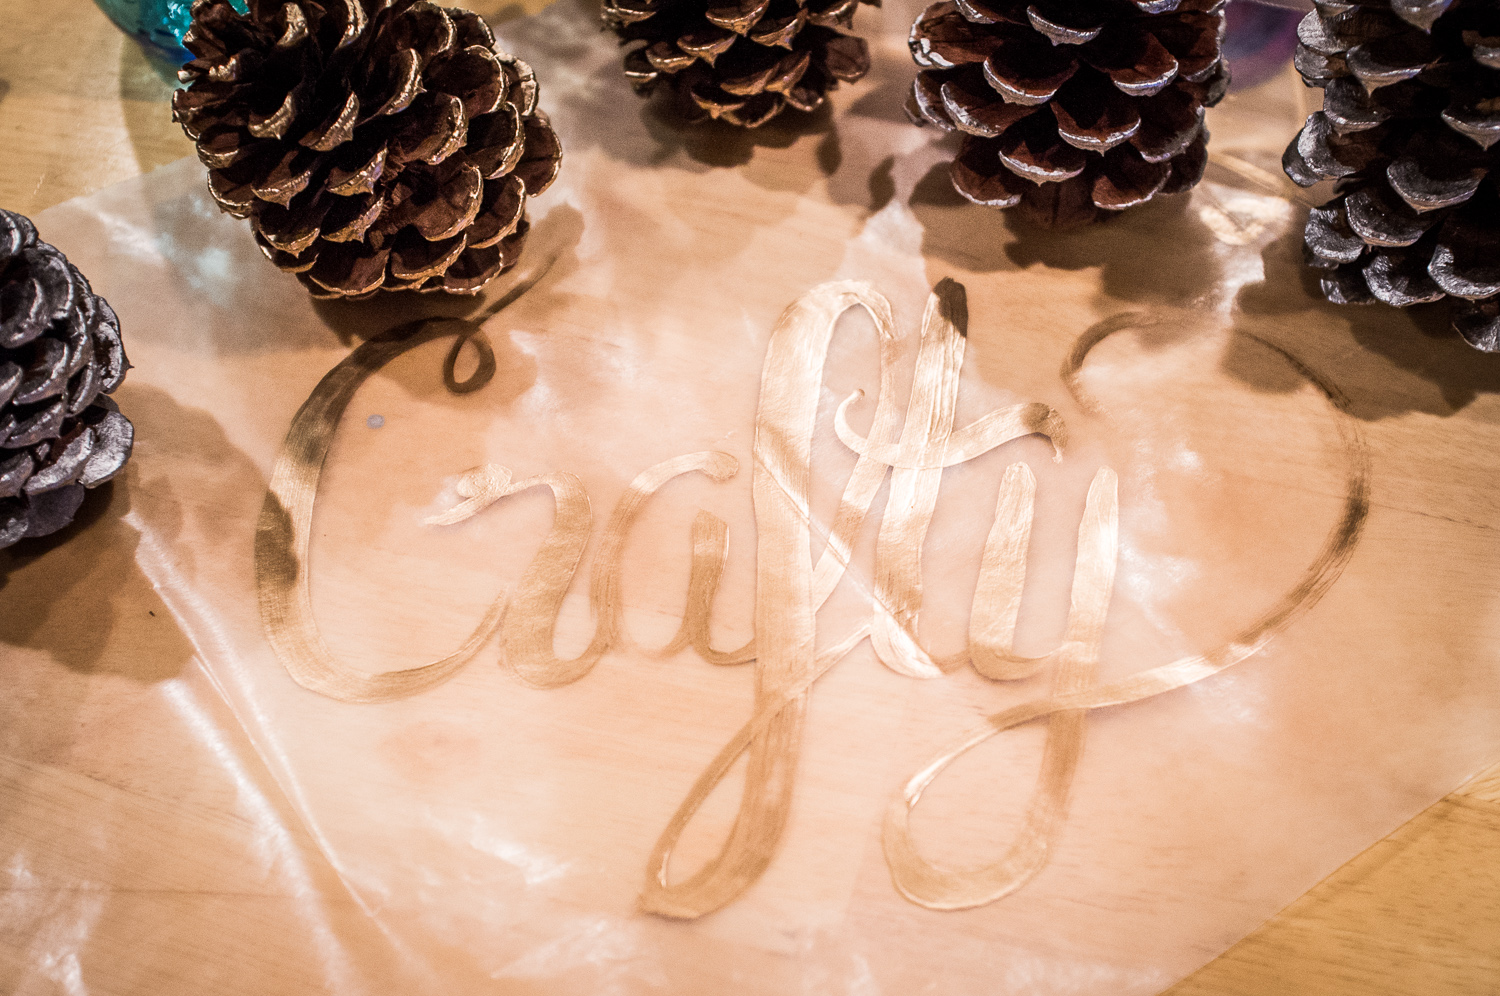
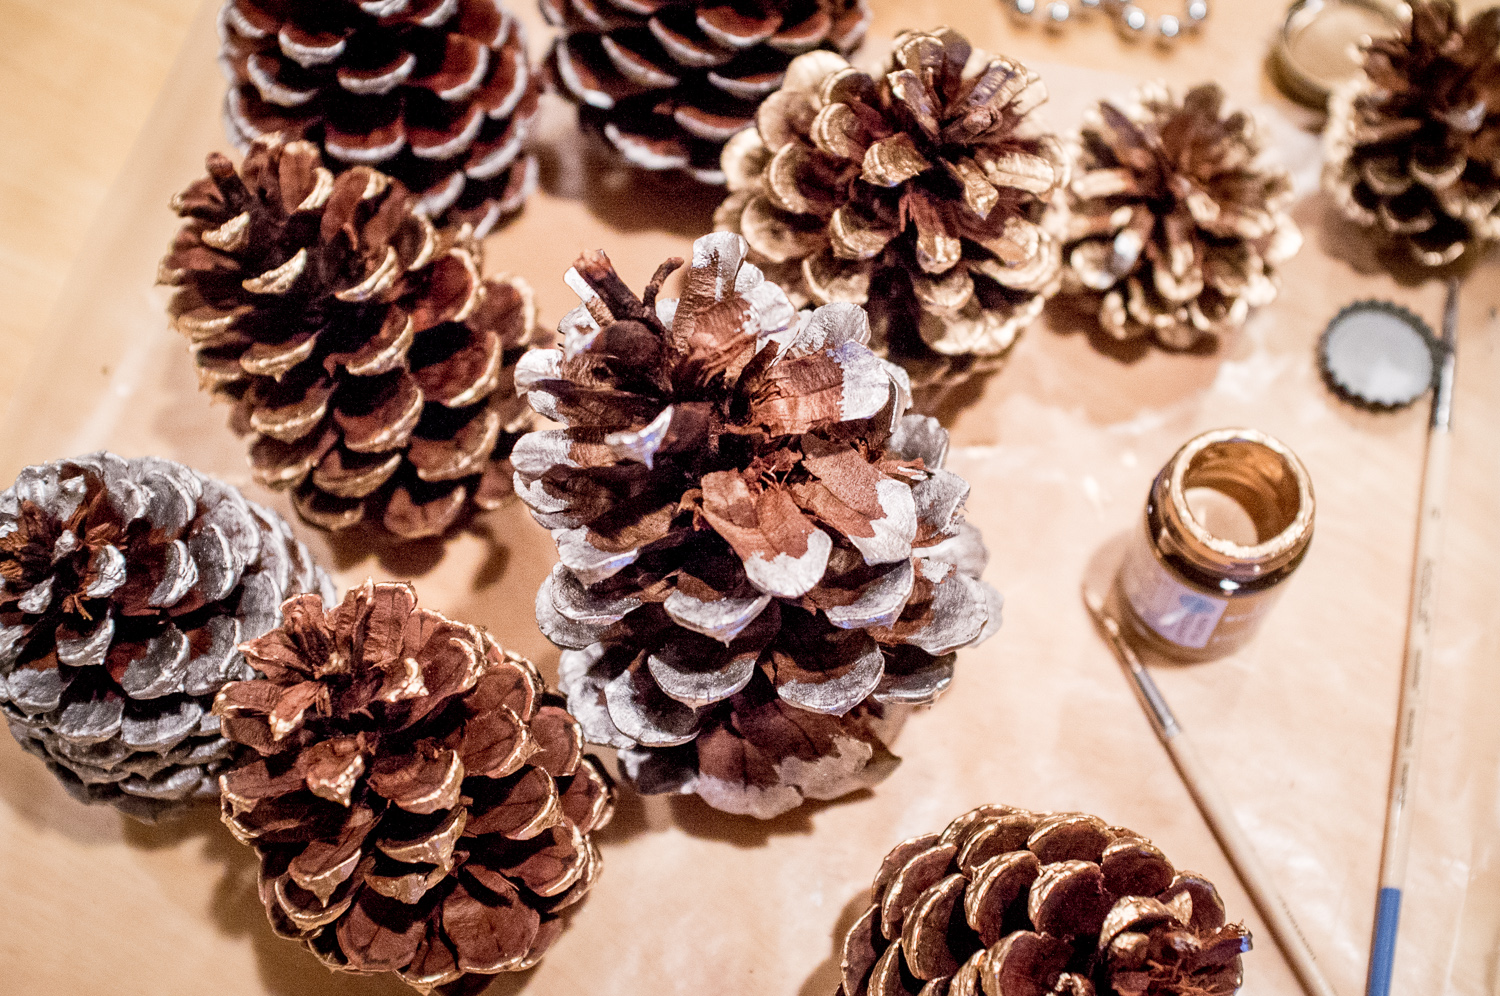
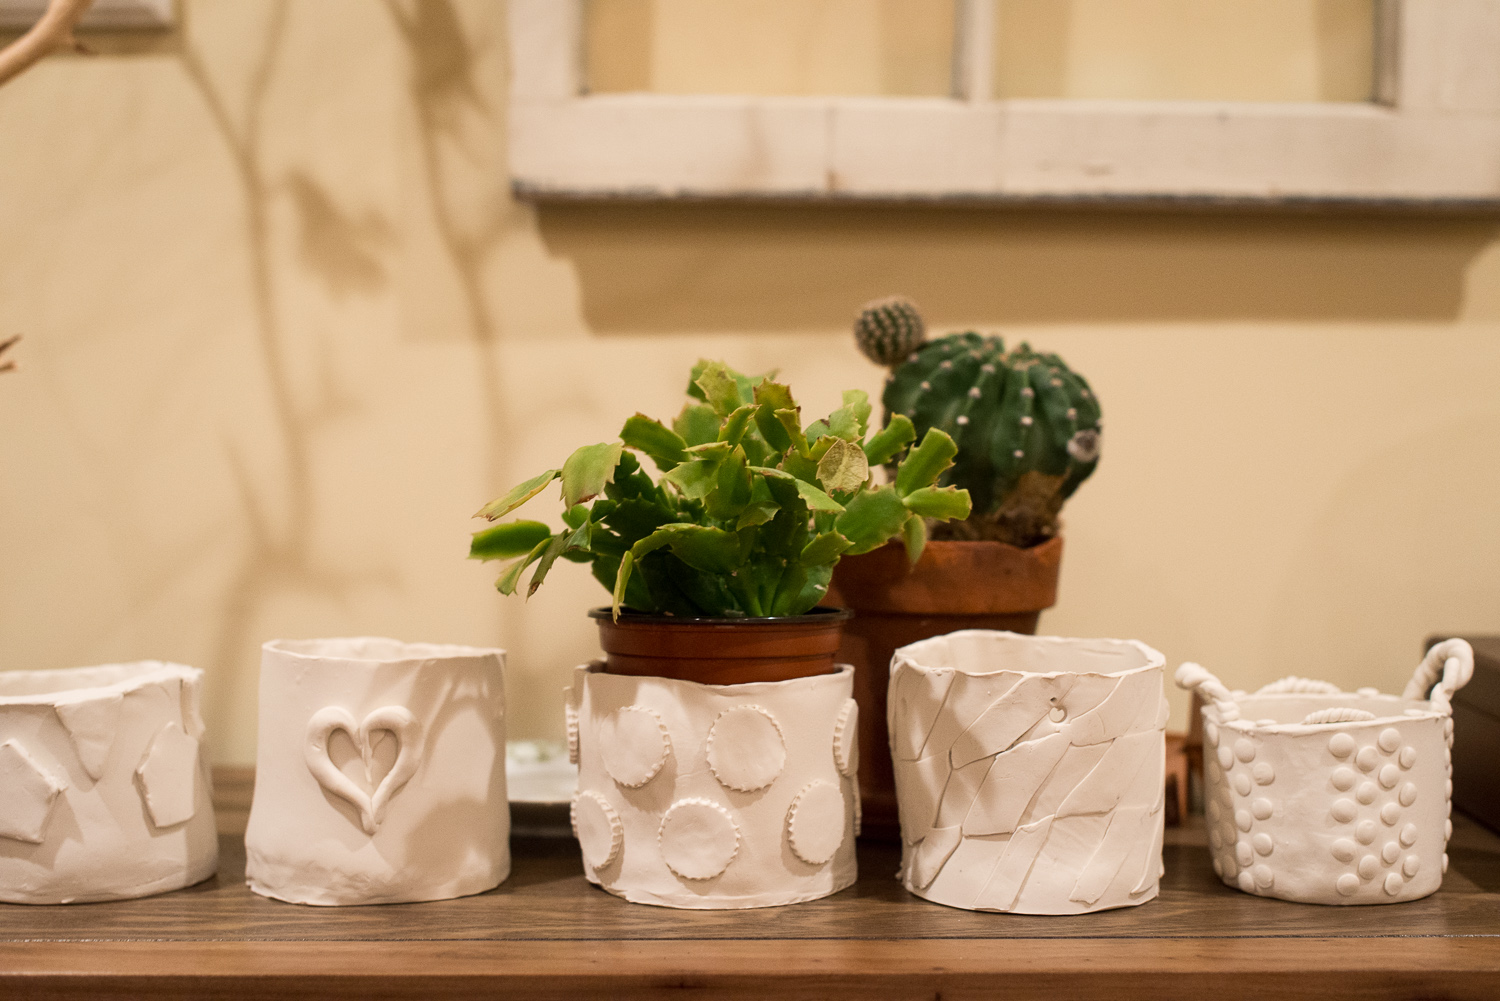
3. Getty crafty.  After a realization that I need to channel my younger more crafty self, I decided to host a monthly craft night.  There’s nothing too much more relaxing and comforting than creating art, drinking, and laughing with friends.  Our first craft night featured one of my childhood favorite crafts: Sculpey.  In addition to some creative planters, we decided to make a few octopi friends for our rooms and offices.  DIY steps and photos to come!

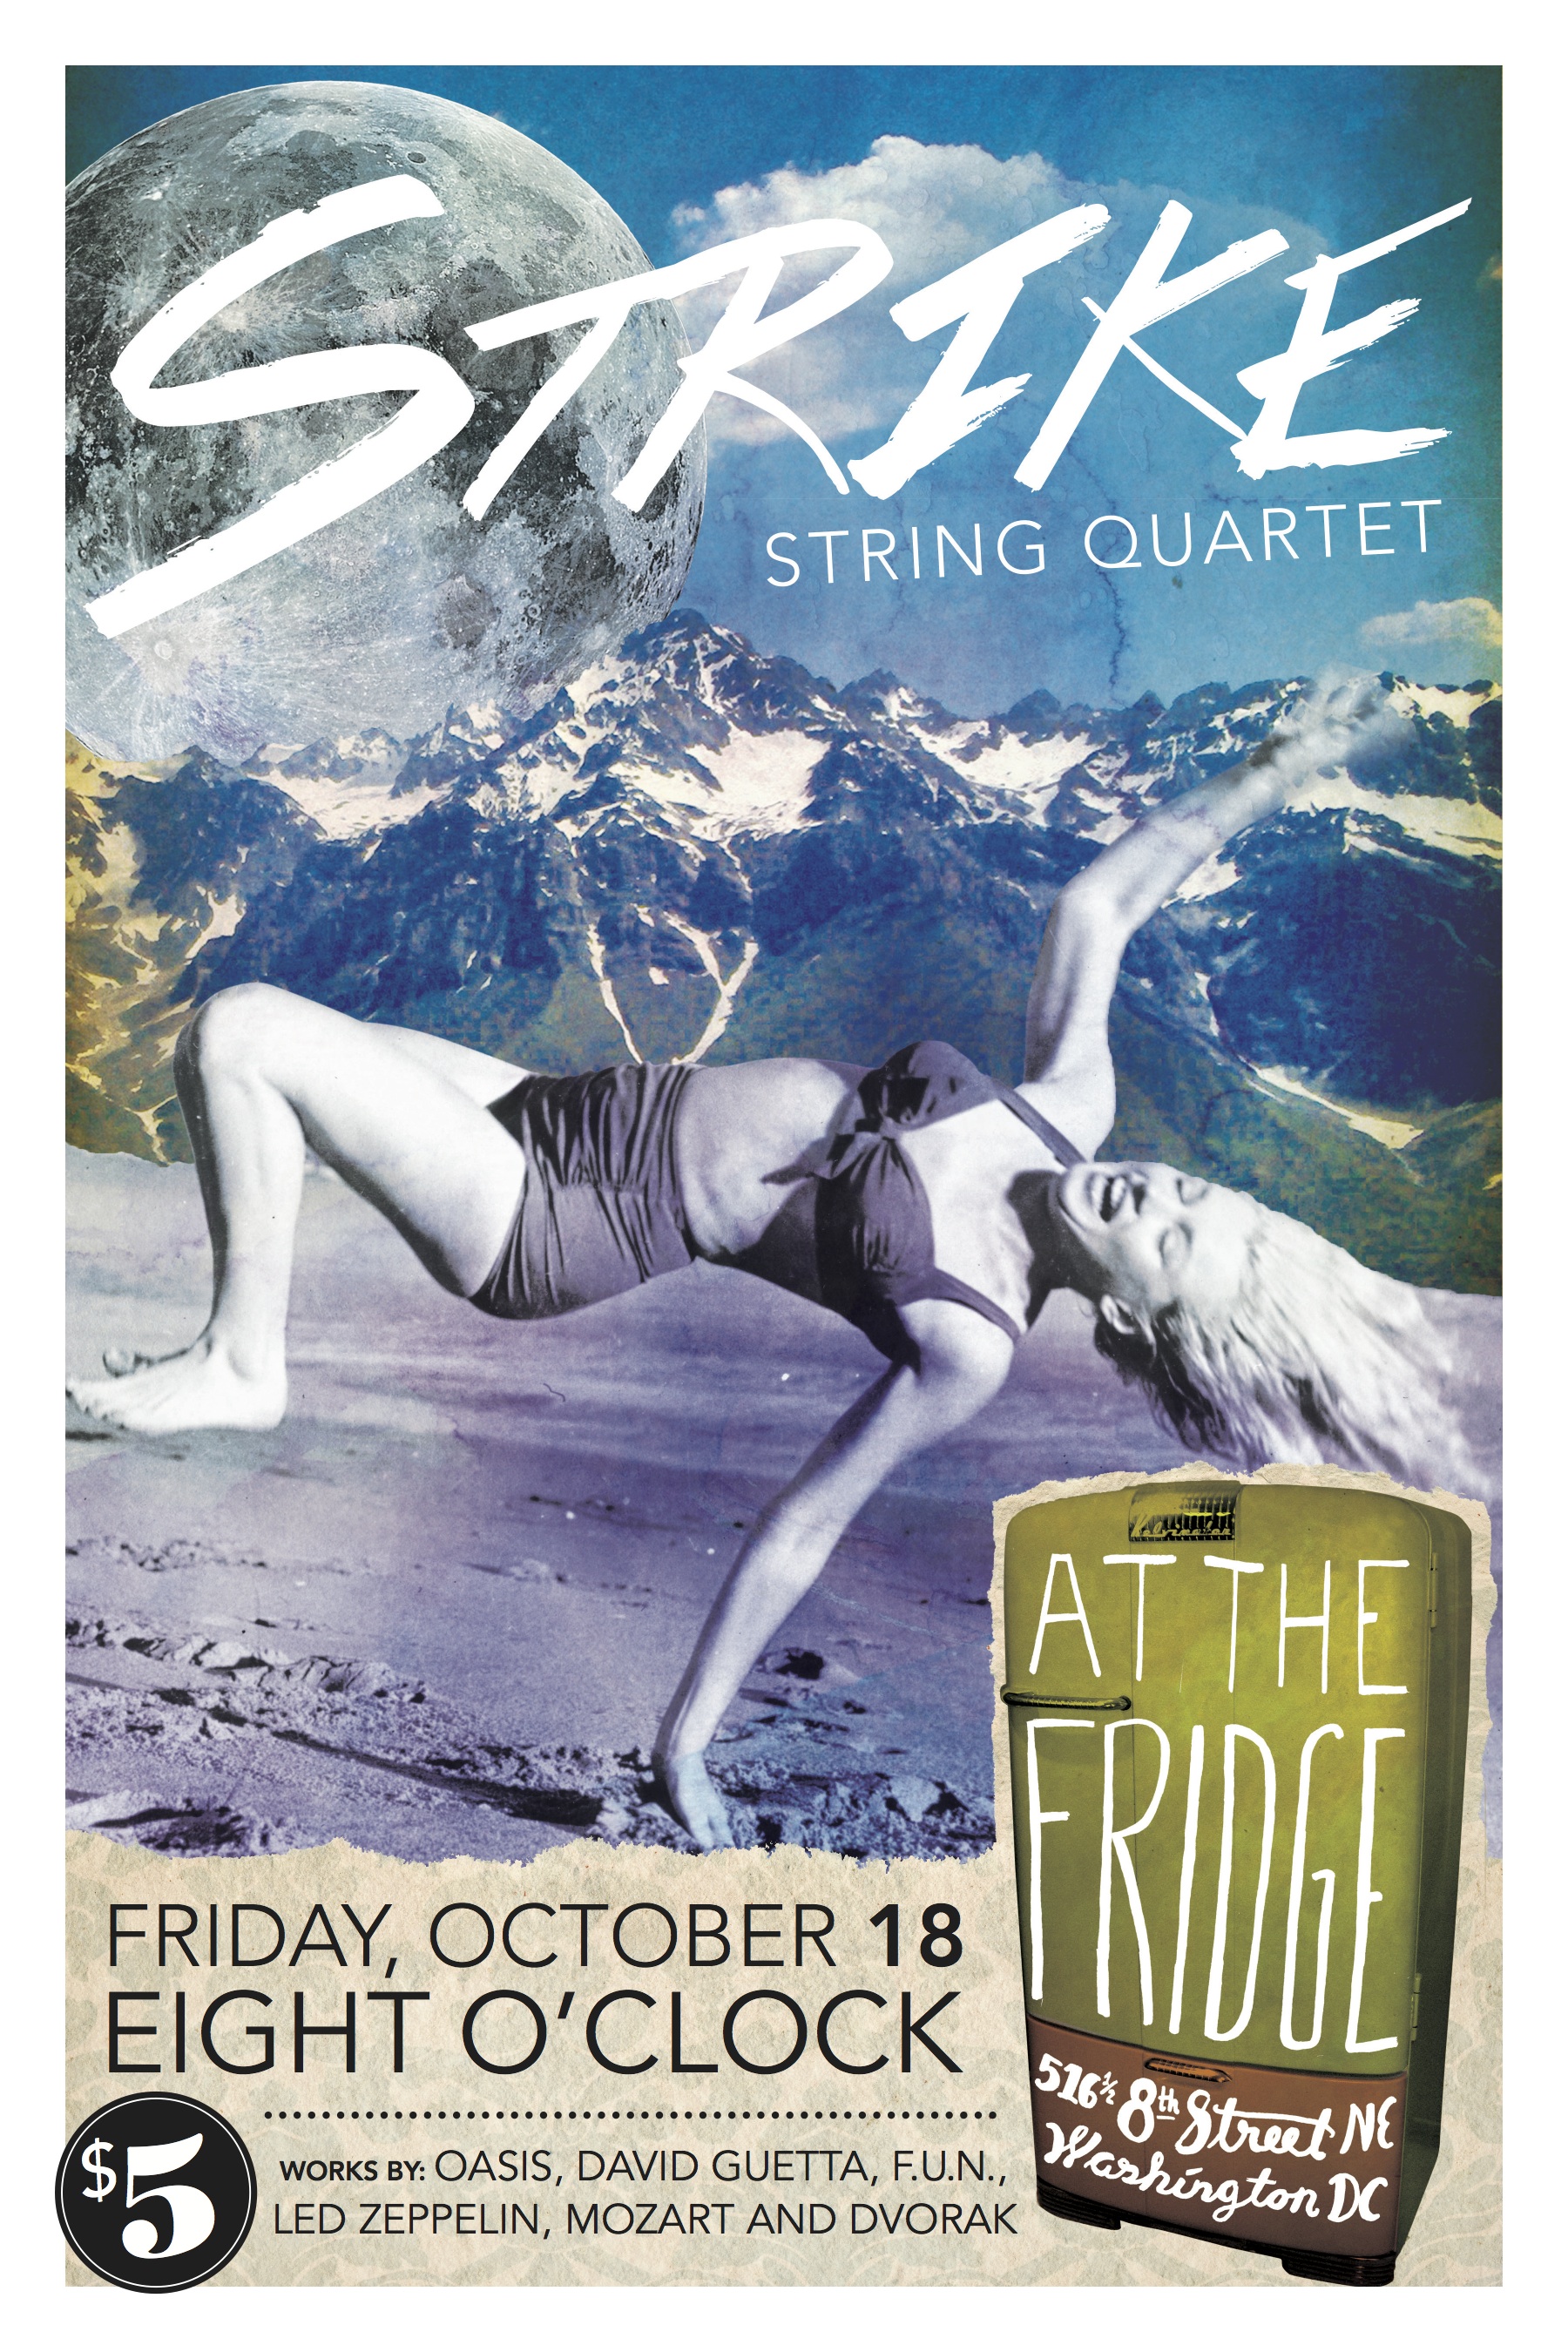
4. Practicing. Strike Quartet is keeping me busy with rehearsals and preparing for our first performance on October 18th at the Fridge.  It has been awesome getting the group together to do something that we all love.  Our show at the Fridge was a great first gig (check out our mention in the Capitol Hill Corner blog!) and I’m looking forward to performing more and more.  And look at this awesome poster that my friend Dan made for us!

StrikeQuartet

If you have any suggestions for crafty night projects or have great fall “to-do’s,” please share!
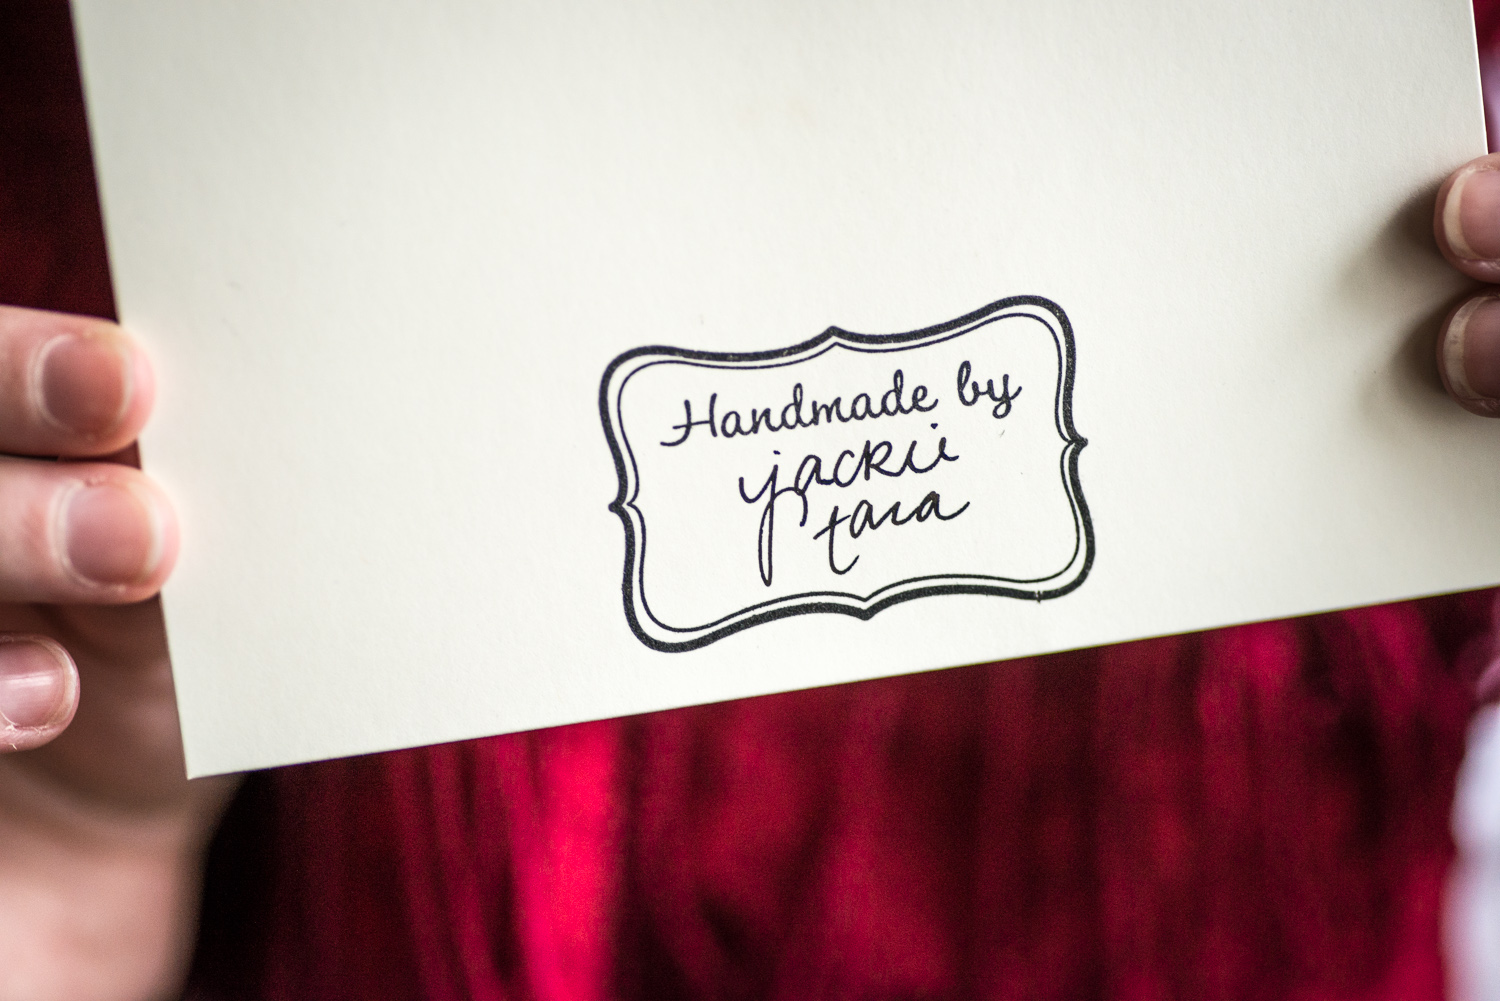
Jackietara

Event Trends for Fall 2013

Last week my colleague and I attended RSVP Catering’s Fall and Holiday Open House Tasting at the Anderson House, D.C.  The “house” is more of a mansion with it’s grand staircases, marble structures, and statues fit for a museum and, in addition to the delicious food and “Lavender Louvre” cocktail, the decor was beautiful inside the house, and out.  Navy and aqua blues filled the backyard garden and complemented a serene reflecting pool.

RSVP

And blue is just the beginning!  Here are some other popular event themes that have been trending lately:

Pink and Gold

Hints of gold have been popping up everywhere on Pinterest and in several blog posts from The Wedding Chicks and Style Me Pretty.  I’m loving this feminine look that can be used for showers, weddings, or even a backyard party!

Pink, Mint & Gold Wedding Inspiration #mintweddings #mintandgold #mint #gold #goldweddings #goldweddinginspiration #weddinginvitations #weddings

Photo via loverly.com        

Photo via Style Me Pretty

Creative Cake Toppers

I tried my hand this summer at making a cake topper for my birthday cake.  It didn’t come out perfectly, but it was an easy and cute way to jazz up a dessert.  Check out these beautiful and intricate toppers featured on The Wedding Chicks.

photo-2

pink and gold whimsical cake topper

Photo via The Wedding Chicks

Polka Dots

A classic fashion style turned event decor staple.  How is is that dots and confetti make things seem that much more fun?!  Creating Couture Parties has a great blog post on polka dot party inspiration.

polka dots

Photo via wehearit.com

Photo via sweetlittledetailsbyjen.com

What trends are you seeing so far this fall?  Please share!

Jackietara

Happy Flowers

This year, Teddy and I hosted my 25th birthday at his parent’s house in Annapolis.  I wanted to add my own personal touch to the decor, so during my three-day “stay-cation” I made a DIY birthday banner from paper and ribbon from Michael’s and put together a few gerbera daisy arrangements with flowers from Costco [an easy pickup while food shopping for the party!] for the table outside.  August weather is always a little tricky, but we lucked out this year with a sunny and low humidity day, and the daisies just made everything that much happier.

Birthday Party-4

Birthday Party-2

Birthday Party-6

Birthday Party-8

Birthday Party-9

Wearing: Top of the Byline Dress: ModCloth // coral bib necklace: Stella & Dot

Jackietara