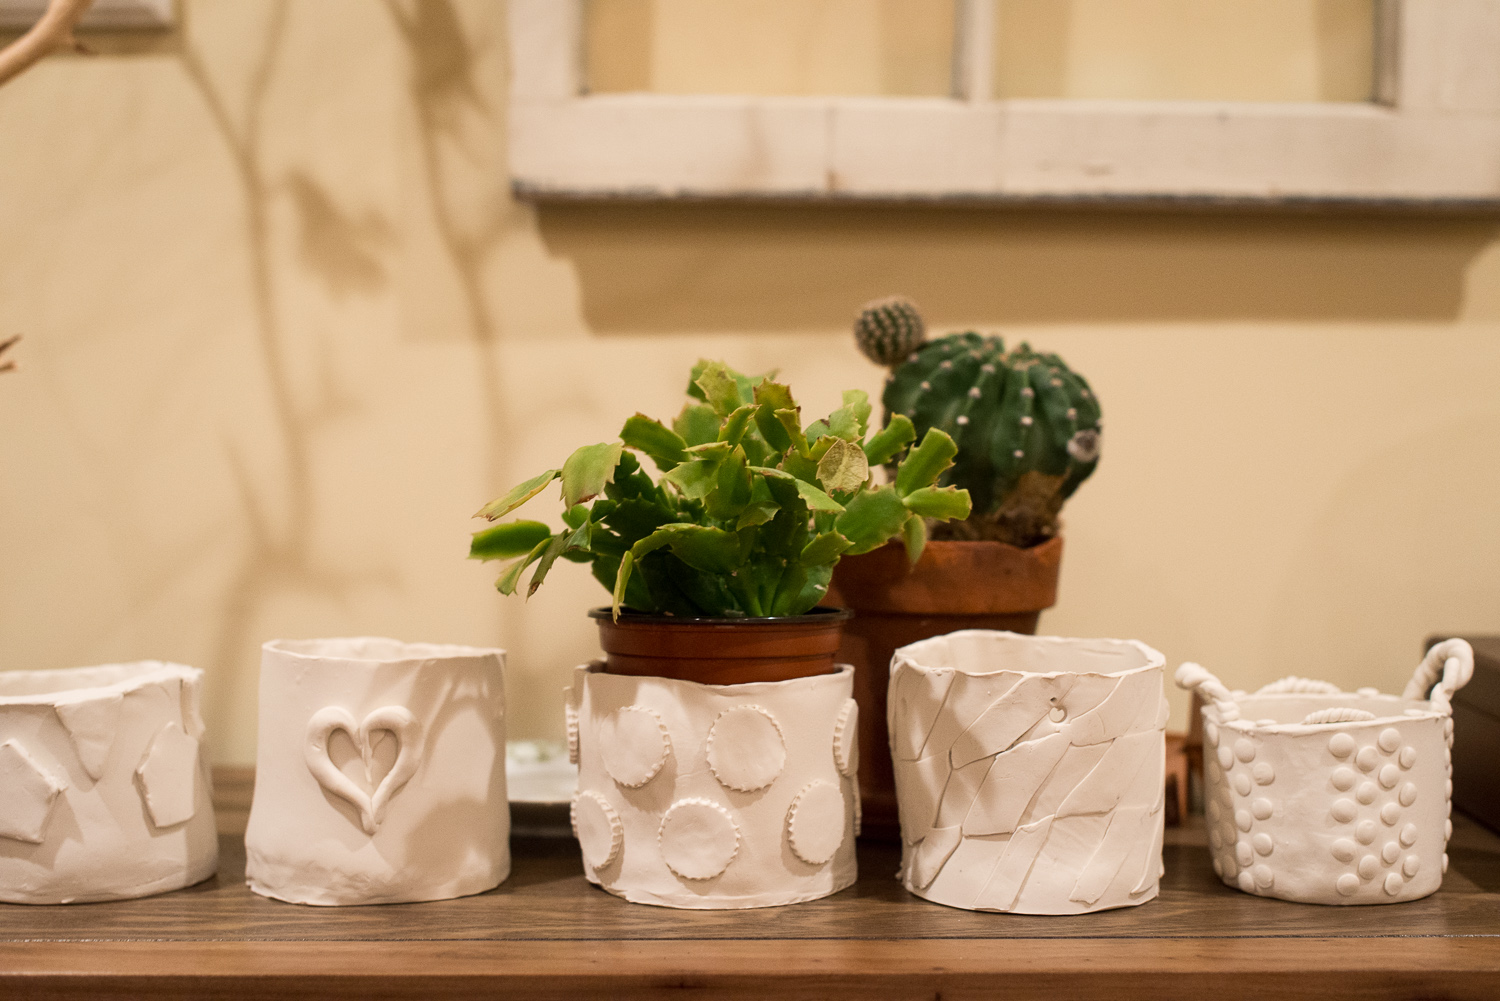
It’s been a while since we made these, but I promised I would post photos and a “how-to” for these cute DIY clay planters. I’ve recently started hosting a monthly “Crafty Night” at my apartment, which has been a success so far! Our first crafty theme was miniature clay planters, a project I originally saw on the A Beautiful Mess blog. They are perfect small embellishments for a hallway table or window ledge, and you can hang them too!
Here’s what you need:
Rolling pin
Wax paper
Sculpey clay (or another oven-baking clay)
Sculpting tools
Acrylic paint
Paint brushes


Directions:
1. Roll your clay out about ¼ of an inch thick and cut a long rectangle that is 10 inches long and 2 ½ inches tall. Cut out a circle for the bottom of the planter that is 3 ½ inches wide.
2. Place your long rectangle piece on top of your circle to create your sides. Roll thin tubes of clay to put on the inside bottom of the planter (where the walls meet the planter bottom), then use the clay knives (or your fingers) to smooth out the clay tube between the crack to create a water-tight seal.
4. Roll out more clay and cut out the design that will go on the sides of your planter.
5. Use a wooden skewer to poke 4 evenly spaced holes near the top of your planter. Bake your clay according to the package directions and let the planter cool.
6. Paint freely!


Christmas is around the corner, and a mini clay planter would make a great gift!
Jackietara

2 comments