Hi there and happy Friday! It’s been a roller coaster of a week, so I’m glad the weekend is finally here. Spring always takes forever to get here, but when it does finally arrive, it ignites with a fury and steamrolls into summer. There is always so much to do and so much I WANT to do, and at the end of every day I end up saying “there just isn’t enough time.” I have to say though, even after long days at the office I’ve been managing to stick to a basic workout routine during the week [big win for me!]. Working out even when I’m tired has dramatically increased my energy level [weird, I know] and has given me a much needed confidence boost. And I need both energy and confidence in huge doses right now with the amount I need/want to accomplish!
By basic I mean I am still no fitness pro [or even close], but I’ve gotten to a point where I exercise at least 3 days a week. On Tuesdays I join a small group that does Zumba together at work, after work, and interchange that with the Shirlington running club, also on Tuesdays, that I joined last fall. I have also picked up barre classes with a friend who is training to become an instructor, and the classes are free which helps my bottom line [literally]. And then there’s my at-least-once-a-week visits to the industrial building in Springfield that hosts the largest dance party workout class I have ever experienced: Kazaxe. Kazaxe has become my favorite part of my routine because it’s not only a great cardio workout [trust me, you sweat constantly] and endorphin booster, but it’s become a social gathering with some of my closest gal pals. And what could better than getting your twerk on with your closest friends?! One of those friends has recently started a fitness blog, which is amazing and you should follow along!
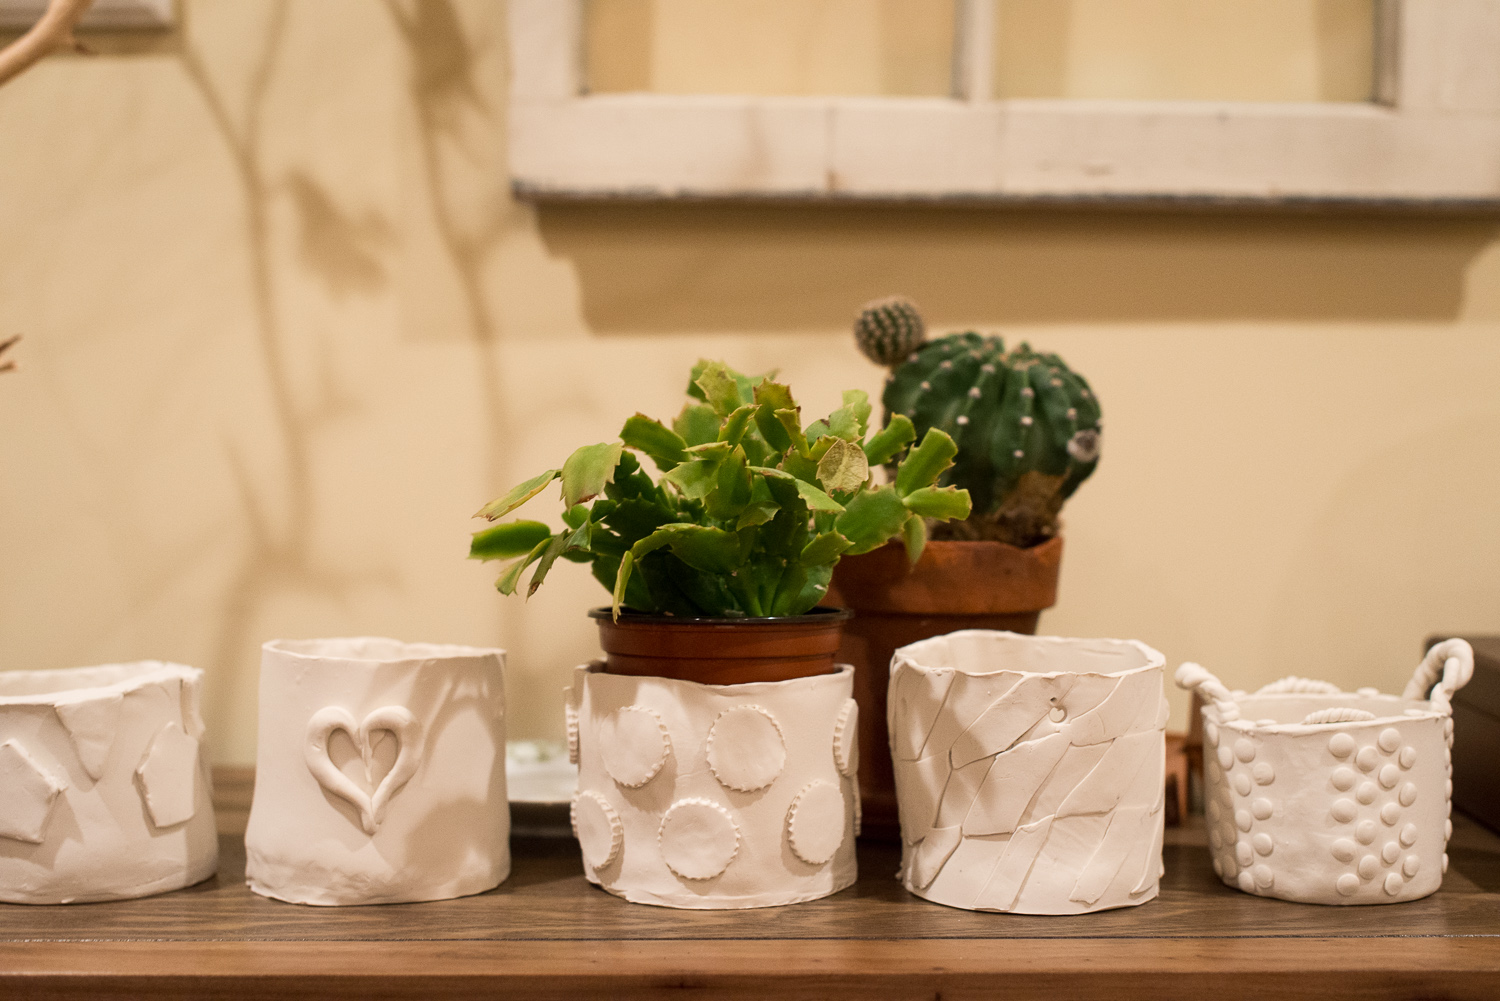
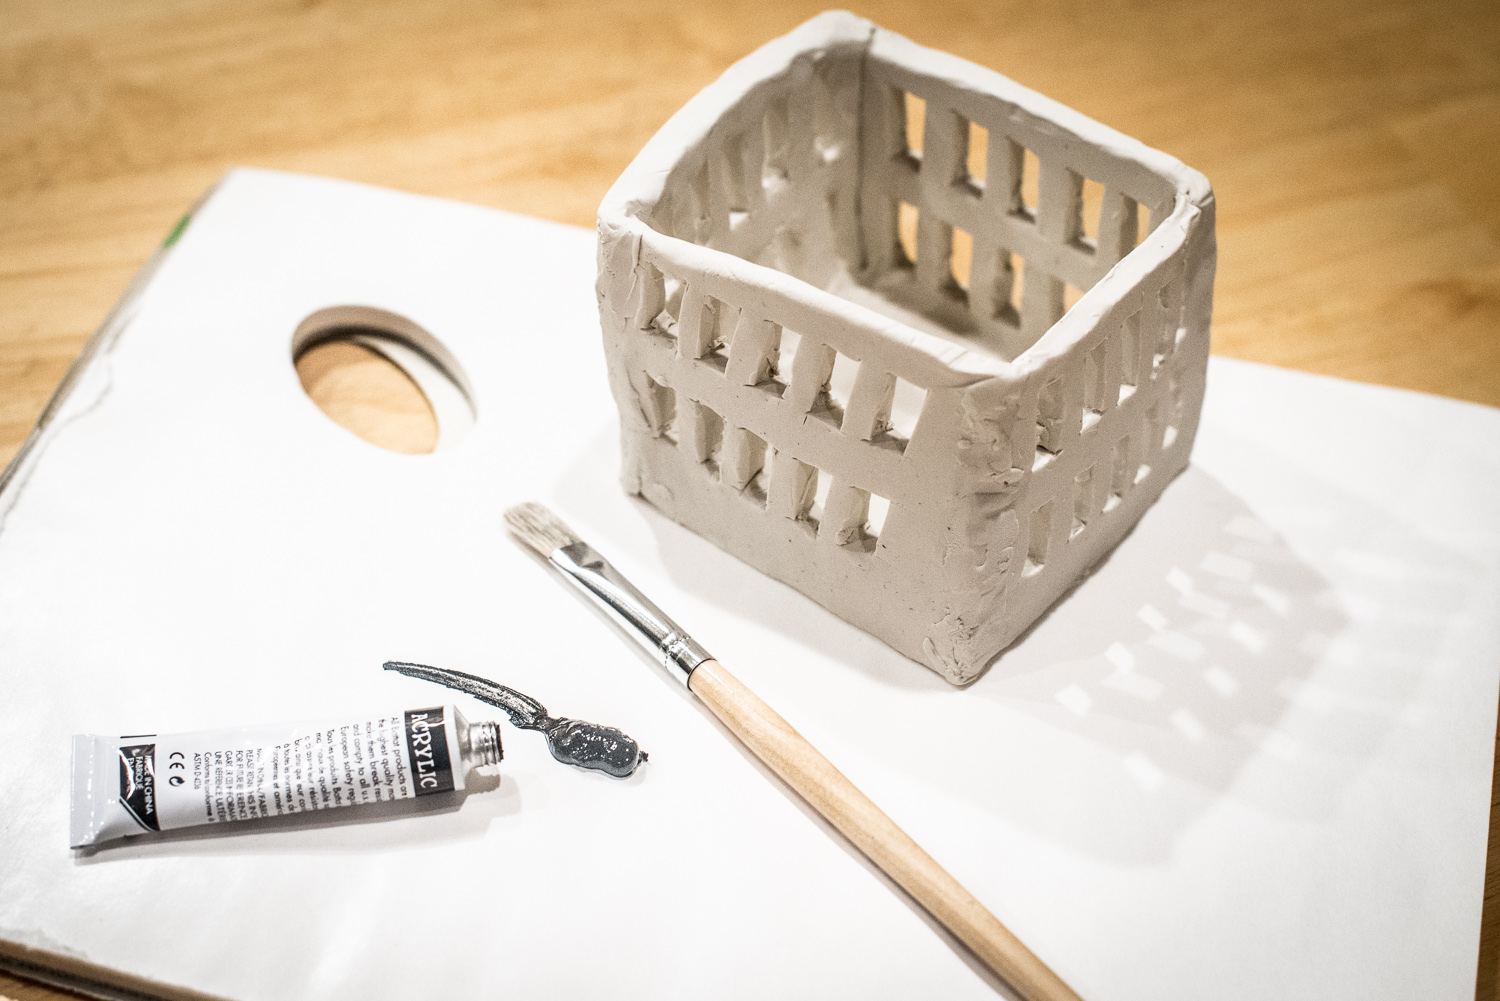
With all of this extra energy I have been pushing myself to keep my crafting going. Something I had been really wanting to do is to create a berry basket from clay. I already had extra Sculpey from my clay planter project, so I dedicated an afternoon a couple weeks ago to making one for my newly redecorated bathroom. I followed the basic steps from the post from A Beautiful Mess, tweaked it a bit, and voila! My very own berry basket. It took me a bit longer than I expected (about 2 hours), so I ended up only making one. I painted it black to match my sea glass and black decor in the bathroom and I think it feels right at home on the shelf. They are perfect for any nick nacks or do dads you have lying around… I started with q-tips and it’s now it’s holding three nail clipper kits, previously without a home [don’t ask me why I have three]. I’d love to make another to have on my bedroom dresser, leave the white clay color, and then paint the bottom gold!


Jackietara